类组件
最基本的类组件
可以使用 rcc ( in vscode ) 快速构建
import React from 'react'

class App extends React.Component {
    render() {
        return <div><h1>Hello App from React.Component </h1></div>
    }
}

export default App
引入创建的类组件后, 通过 ReactDom 进行渲染
// 这里的 App 是别名, 不一定与目标文件导出对象的名称一致
import APP from './01-base/01-1-class组件初识.js'

ReactDOM.render(<div>Test</div>, document.getElementById('root'))
Tips: React 18 版本不在推荐使用 ReactDOM.render() 的渲染方式
const container = document.getElementById('root');
const root = createRoot(container);
root.render(<APP />);
根据属性构造简单的动态类组件
class App extends React.Component {
    render() {
        return <div><h1>Hello App from React.Component @ {this.props.name} </h1></div>
    }
}

// .render 直接实例化, 渲染时直接传递该对象即可
const app = new App({
    name: 'ComingPro'
}).render()

export default app
此时已经实例化啦, 因此直接渲染目标对象即可
const container = document.getElementById('root');
const root = createRoot(container);
root.render(App);
函数式组件
无状态组件, 十分简单, 但自身能承担的功能也有限
- 组件中
this为undefined,是因为经过babel翻译开起严格模式,从而禁止了自定义this指向window
基本的函数式组建
function App() {
return (
<div>
<h1> 02-函数式组件.js </h1>
<h2> Hello ComingPro </h2>
<h2> You are the Best </h2>
</div>
)
}
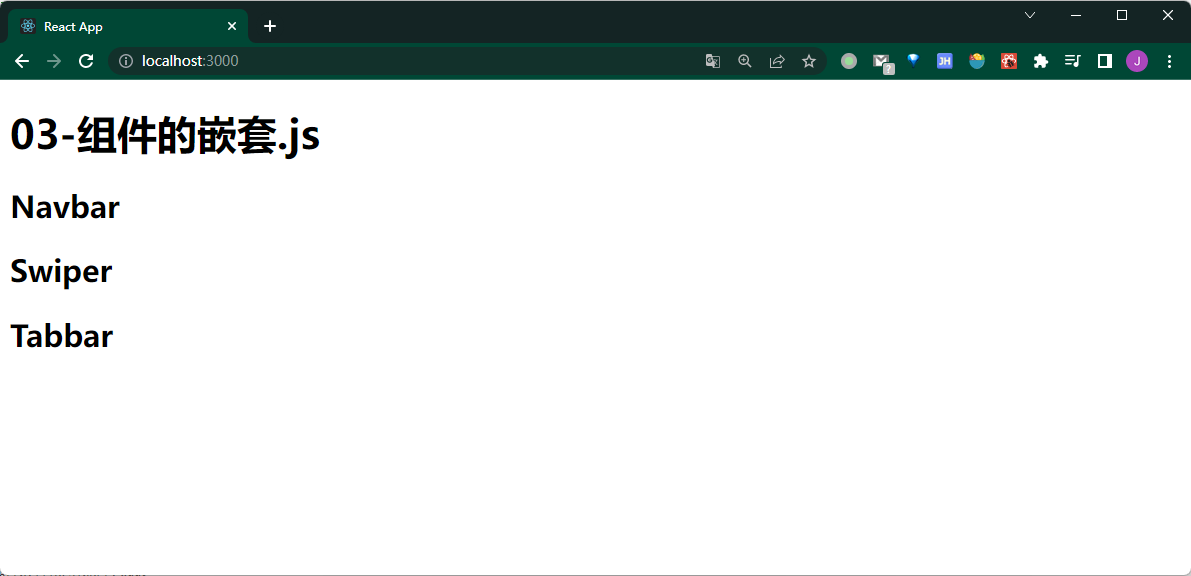
ReactDOM.render(<App/>, document.getElementById('test'))组件的嵌套
import React, {Component} from 'react'

class Navbar extends Component {
    render() {
        return(
            <h2>Navbar</h2>
        )
    }
}

function Swiper() {
    return (
        <h2>Swiper</h2>
    )
}

const Tabbar = () => <h2>Tabbar</h2>

export default class App extends Component {
    render() {
        return (
            <div>
                <h1>03-组件的嵌套.js</h1>
                <Navbar></Navbar>
                <Swiper></Swiper>
                <Tabbar></Tabbar>
            </div>
        )
    }
}
组件的样式
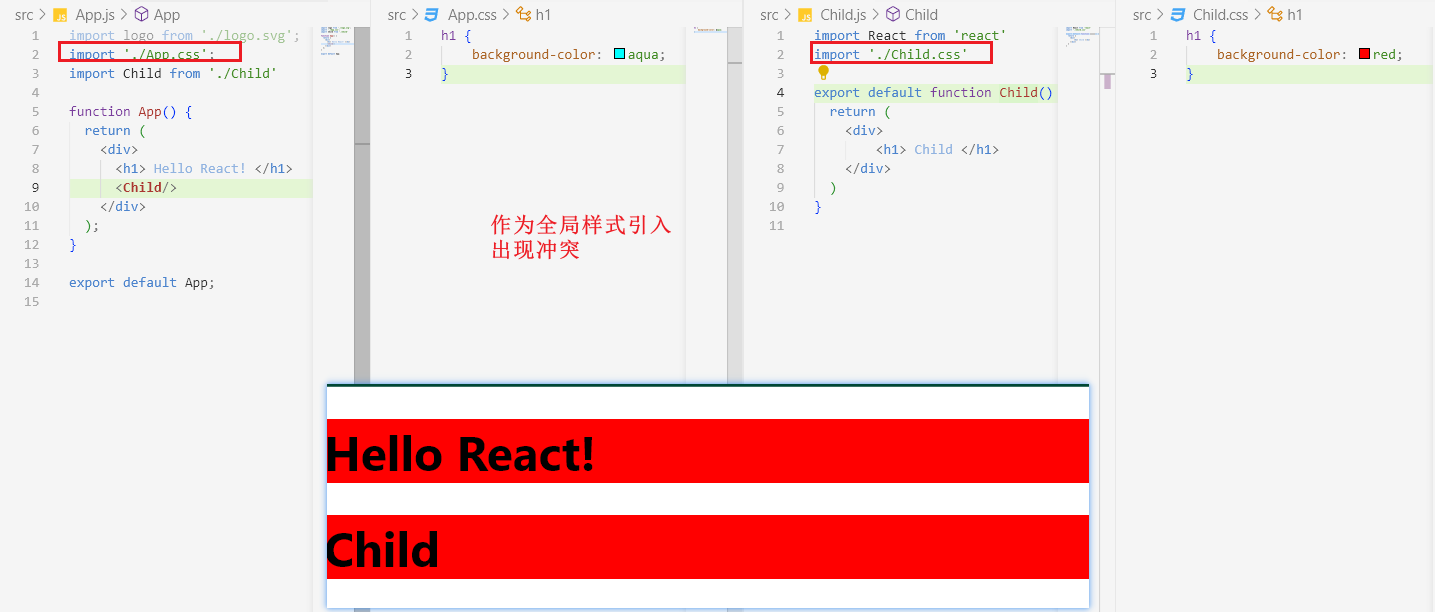
外部 CSS 文件
import './css/01-index.css' // webpack 的支持导入外部 CSS 文件, 整合的 webpack 会将其转为内部 style 从而将样式应用到全局
- 针对标签类型的样式就有可能出现样式冲突问题
- 针对选择器定义的样式则可能出现重名问题
- 因此不推荐使用
行内样式
推荐使用行内样式, 方便组件复用
- 如果
- 推荐每一个组件建立一个文件夹,文件夹中
index.js写组件设计代码;index.css写组件样式代码
import React, {Component} from 'react'
export default class App extends Component {
render() {
var username = "ComingPro"
var style1 = {
background: "yellow"
}
return (
<div>
<ul>
<li>10 + 20 = {10 + 20}</li>
<li> Username: {username}</li>
<li> 10 > 20 : {10 > 20 ? "Yes" : "No"}</li>
<li> 10 < 20 : {10 < 20 ? "Yes" : "No"}</li>
</ul>
<div style={style1}> 推荐使用这两种行内样式, 方便组件的管理 </div>
<div style={{backgroundColor: "blue", color: "white", fontSize: "22px", padding: "8px"}}> 命名变为驼峰 </div>
</div>
)
}
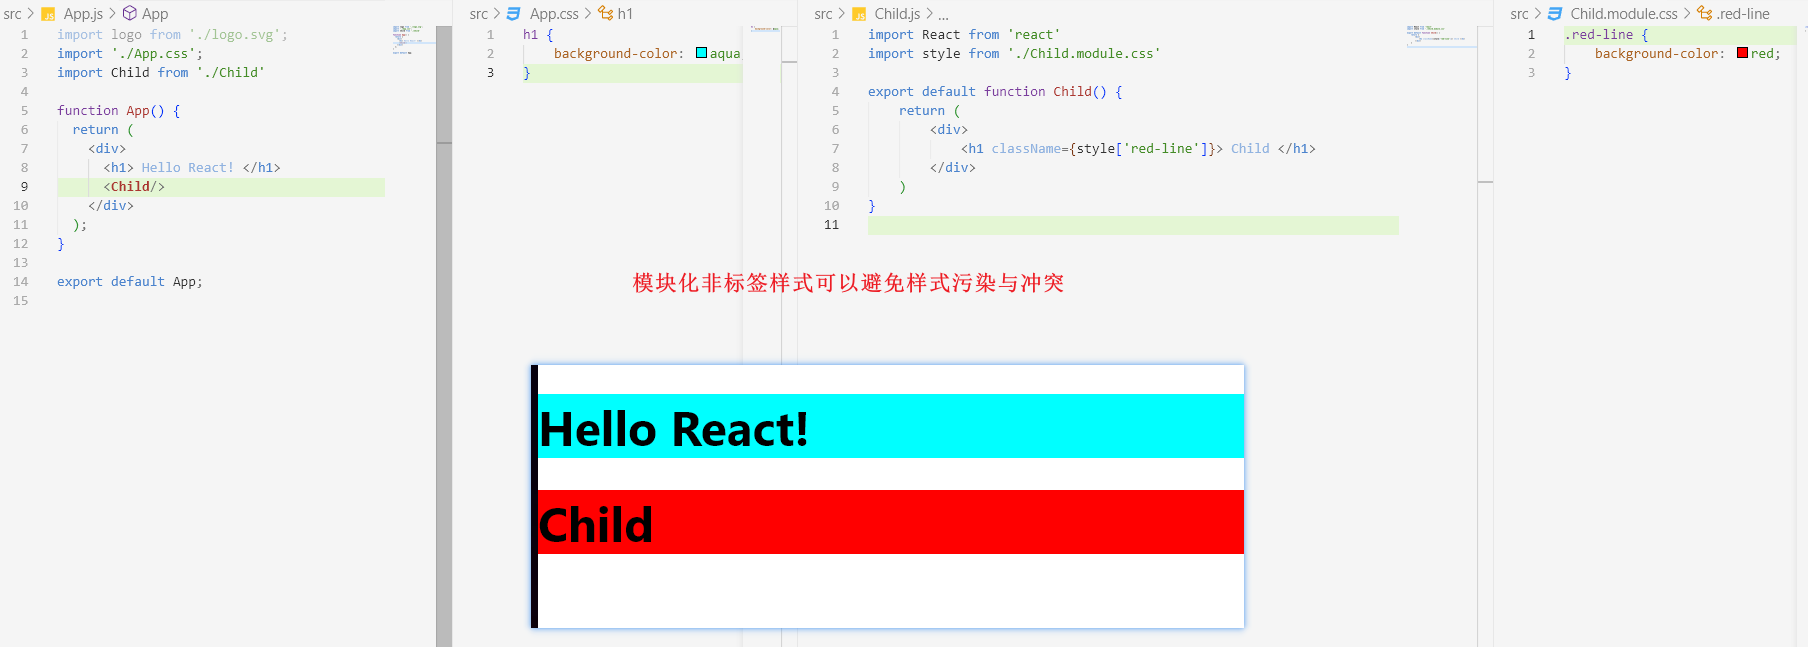
}CSS 模块化
针对不想全局应用的非标签式样式可以使用 CSS 模块化解决:
- css 文件的后缀为
.module.css - 引入文件起一个别名:
import style from ./index.module.css - 使用 style 进行样式赋值:
import style from './Child.module.css'

export default function Child() {
    return (
        <div>
            <h1 className={style['red-line']}> Child </h1>
        </div>
    )
}
sass
npm i sass- 将后缀名改为
*.scss - 应用 sass 语法
TODO: 更为详细的 sass 语法
$width: 300px;
ul {
    .item {
        width: $width;
        backgroud-color: red;
    }
}
组件的事件绑定
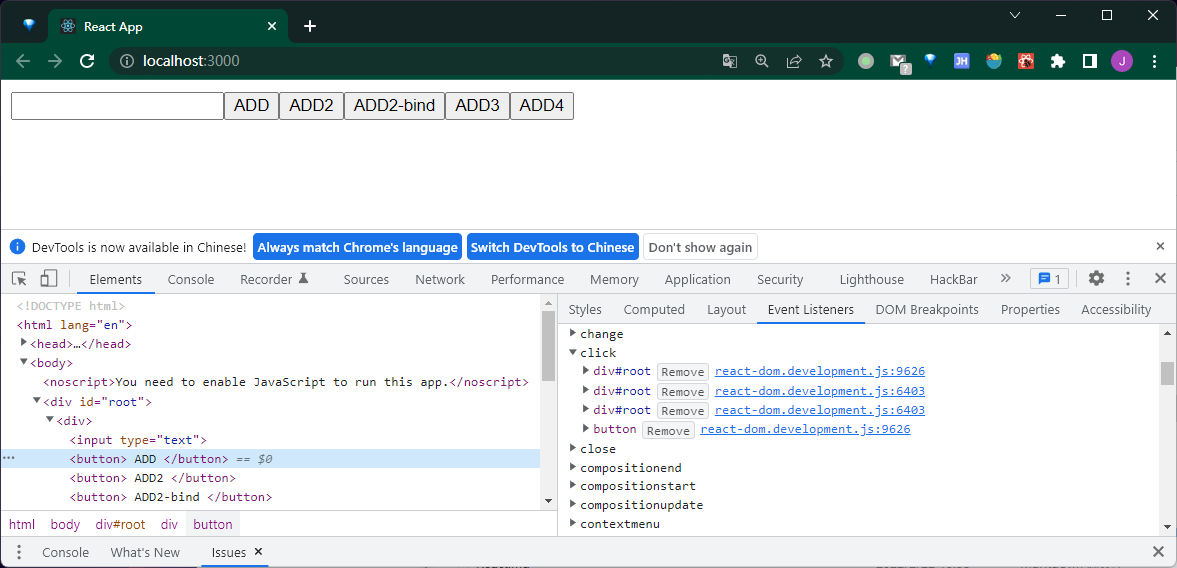
所有事件命名都是 on + 事件的驼峰命名 如 onClick, onMouseOver
- React 事件绑定原理: React 并没有真正的绑定事件到每一个具体的标签上,而是采用事件代理的模式,在根标签上进行事件的监听(冒泡)
阻止冒泡
通过 event 对象阻止冒泡, 处理函数中的 event 参数也是 react 模拟的, 但是仍然存在阻止冒泡的相关接口: event.stopPropagatoin, event.preventDefault
export default class App extends Component {
render() {
return (
<div>
<input type="text" ></input>
<button onClick={ this.handleClick }> ADD </button>
</div>
)
}
handleClick = (event) => {
console.log(event)
console.log("`event.target` 获取事件源")
console.log(event.target)
}
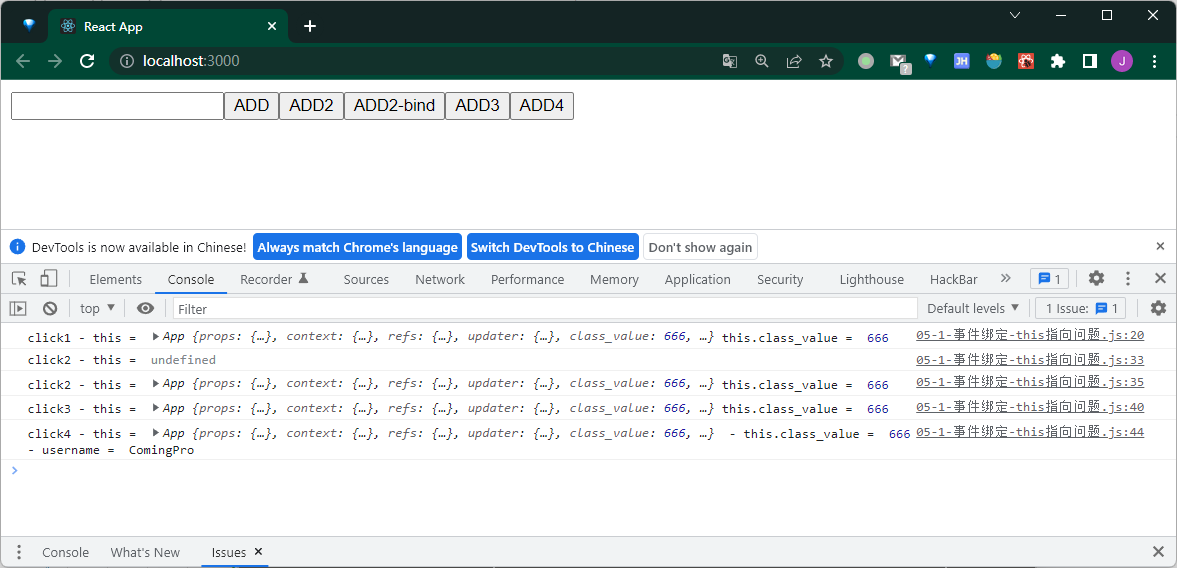
}四种事件绑定方式
export default class App extends Component {
    render() {
        return (
            <div>
                <input type="text" ></input>
                {/* 1. 行内形式 */}
                <button onClick={ () => {
                    console.log("click1")
                } }> ADD </button>
                {/* 2. 原生的 js 函数形式: 存在 this 指向问题 */}
                <button onClick={ this.handleClick2 }> ADD2 </button>
                {/* 2. 原生的 js 函数形式: 使用 bind 解决 this 指向问题 */}
                <button onClick={ this.handleClick2.bind(this) }> ADD2-bind </button>
                {/* 3. 隐式匿名函数调用 */}
                <button onClick={ this.handleClick3 }> ADD3 </button>
                {/* 4. 显式匿名函数调用 */}
                <button onClick={ () => { this.handleClick4("ComingPro") } }> ADD4 </button>
            </div>
        )
    }
}- 行内形式: 没有 this 指向问题, 逻辑简单的时候推荐使用
- 原生的 js 函数形式: 存在 this 指向问题
- React 通过事件代理实现事件的响应, 因此并非实例本身调用的这个函数, 所以丢失了 this;
- 能够通过 bind 解决, 但是仍旧不推荐使用
.call(this)会改变 this 指向但是会自动执行函数
.apply(this)和 call 类似改变 this 指向的同时会执行函数
.bind(this)仅仅改变 this - 隐式匿名函数调用:不存在 this 指向问题, 箭头函数不关心谁调用的, 永远保持与外部作用域一致; 不需要传递参数时推荐使用
- 显式匿名函数调用:不存在 this 指向问题, 方便了参数的传递, 因此最为推荐使用
组件二次封装
针对组件中有固有属性时且较多时,我们可以自定义一个一般组件实现封装
如 NavLink 中 className 属性固定,因此可以进行二次封装
<NavLink className="list-group-item" to="/about">About</NavLink>二次封装我们向上要符合用户的编程习惯,即使用标签体传递表明名称,属性依旧通过 props 传递;向下要对接好初始组件
<MyNavLink to="/about">About</MyNavLink>
<MyNavLink to="/home">Home</MyNavLink>
方便向下对接的是,标签体中的内容将使用 this.props.children 接收,因此可以直接传递给 NavLink 的child属性,完成二次封装的优秀对接
render() {
    return (
        <NavLink className="list-group-item" {...this.props} />
    )
}